Picture this: you’re planning to ride along the beach early morning on your electric bike. You’ve got your water, your helmet, and you walk to your e-bike, and it has a flat tire. Now you can choose not to ride that morning and take it to a professional later, or you fix the flat tire yourself. It may seem challenging, but changing a tire is simple and quick if you have the correct tools and knowledge of the process.

In most cases, the front tire on an electric bike is the same as that on a regular bicycle. On the other hand, the rear tire is quite different. Therefore, fixing a flat front tire is much simpler than the rear tire. That said, this guide on how to change the tire on an electric bike will explain what you should in both circumstances.
How to Change the Tire on an Electric Bike
Here’s a complete guide on how to change the tire on an electric bike without needing any professional help.
Tools You’ll Require
Before we begin to explain how to change the tire, you should know the tools you’ll need to carry out the process. Using the right tools will ensure that you perform the change effectively, safely, and without damaging your electric bike. You will need:
- A pair of wooden blocks to prop the electric bike (you could also get a bike stand instead of turning it upside down, but it’s not required)
- 18 mm wrench
- 3 mm Allen wrench (you’ll need this for most electric bikes, if not all)
- Flat side cutters
- Phillips head screwdriver (you’ll need this for some electric bikes)
- Bike pump that has a Schrader valve to fill the air
- A camera
- Tire levers
- The tire or inner tube replacement
It’s best to purchase and keep these tools with you, even if your tires are okay at this point. This way, when you do have a flat tire, you’ll be prepared with what you need.
You may like, What To Look For When Buying A Used Bike and How Long Do Bike Tires Last and When to Replace A Bike Tire.
Changing the Front Tire on an Electric Bike
As mentioned above, changing the front tire on an electric bike is a relatively straightforward and quick process. If you have experience with changing the tire on a regular (i.e., not an electric bike), then you can skip this section as the process is the same on both bikes.
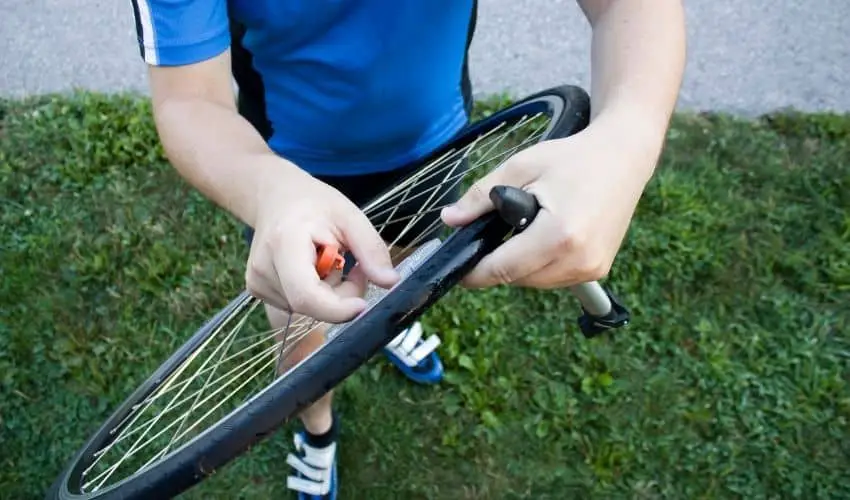
However, if you don’t, here’s what you should do.
- Turn your electric bike upside down, letting it rest on the handlebars and seat.
- Unscrew the nuts or lever that holds the axle to the bike’s frame.
- Remove the wheel from the frame slowly and gently. You must ensure that you slide the disk. brake out of the housing without letting it bend and get damaged.
- After you remove the wheel, deflate the inner tube completely.
- Squeeze the part of the tire that’s around the rim together. Make sure to go all around the tire. Doing this will loosen the beads on the tire.
- Lever out the edge of the tire by easing a tire lever under the rim of the wheel. If you don’t have a tire lever, you could use a spoon, spatula, or any flat object that’s similar in shape and size.
- After the tire is detached from the wheel, replace the inner tube of the tire if your electric bike had a flat. If you’re changing the tire for winter riding, you can install studded tires without needing a new inner tube.
After following these seven steps, your electric bike’s front tire will be as good as new.
You may like How Long Does an Electric Bike Motor Last?.
Changing the Rear Tire on an Electric Bike
The difference between changing the rear tire on an electric bike and a regular one is that you have to account for the electric motor on the e-bike. You will have to be extra careful when handling the electrical equipment so you don’t damage it when replacing the bike.
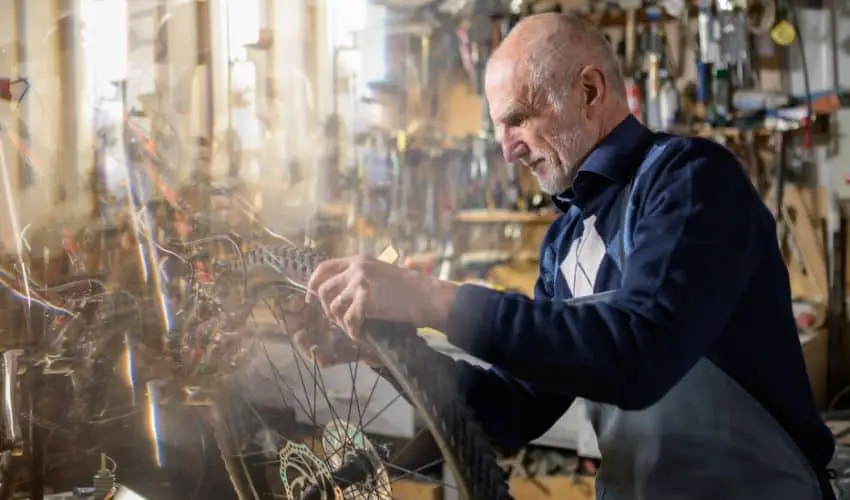
Here’s a detailed guide on changing the tire on an electric bike.
Step-1: Prepare Your Bike
You will need to turn off your electric bike completely while performing this process. Remove the battery from the bike as well. This way, you can prevent the bike from accidentally switching on while you’re working on it. If it does, it could potentially damage the bike (depending on the situation it is when it comes on), or it could harm you.
It’s also best the press and hold the power button on your electric bike to allow whatever power there is in the bike to discharge. No power in the system means that you won’t risk shorting any plugs when removing them or possibly getting an electric shock.
You should also put your electric bike in the highest gear before operating on it. Putting it in the highest gear ensures that the position of the bike’s chain is the furthest away from its rear hub.
Step-2: Place Your Electric Bike Correctly
Before you turn your bike upside down (if you’re using the wooden blocks), it’s best that you lay down a blanket on the ground. This will ensure that your electric bike’s body, seat, or handlebars get scratched by the rough floor.
You should also remove all accessories on the handlebars. Flip your bike’s mirrors downward, too, so that they don’t come in the way of placing it on the ground. This way, they won’t get damaged when you turn the bike over. It also ensures that the bike is sturdy when it’s resting.
Next, turn your e-bike upside down so that it rests on the seat and handlebars, just like when changing the front tire.
Make sure that only the grips of the handlebars rest on the wooden blocks. Resting other parts of the handlebars could scratch the paint on them. Also, you do not have to use wooden blocks, but the elevation it provides can help you reach parts more easily, and it prevents the LCD screen from getting damaged.
If you feel like the LCD may touch the ground, use more wooden blocks to raise the bike even more. That said, make sure the blocks are even so that the bike is stable when you’re working on it.
Step-3: Unplug the Bike’s Motor Cable
If you’re not sure where the motor cable is on your bike, you’ll find it just by the chainstay (under the chain guard). Snip the zip ties that are holding both sides of the cable onto the bike’s frame. Doing so will prevent any stress on the cables, keeping them in great condition. You can then grip the plug properly and prevent any damage to it when disconnecting.
Hold each end of the plug with each hand and pull them in the opposite direction of each other. Make sure not to twist the plug when you’re pulling. Twisting it can damage the pins at the connection.
Also, it’s incredibly important that you do not hold the plug from the wires. By doing that, you can rip the wires from the inside and damage the wiring in the process. The damage may not occur on your first try, but incorrectly gripping the plugs can affect how long it lasts.
You may also like: Electric Bike Speed Limiter Removal
Step-4: Remove the Axle Nuts
To remove the axle nuts, you will first need to remove the rubber cap that covers the bolt that holds the rear wheel to the frame of the electric bike. After the cap is off, you will need to use your 18 mm wrench to remove the axle nuts.
There are two of them, one on either side of the hub motor. Thus, make sure that you loosen both of them so that the axles on the hub motor can come off of the dropouts. If your bike has the torque arm in the way, you cannot remove the axles from the dropouts just yet. You will have to remove that first.
You should also note that you should open the rim brakes (if your bike has them) before you try and remove the wheel from the frame. This way, the brakes will not come in the way of the rim or the tire. However, if your bike has disc brakes instead of rim breaks, then you do not need to remove anything.
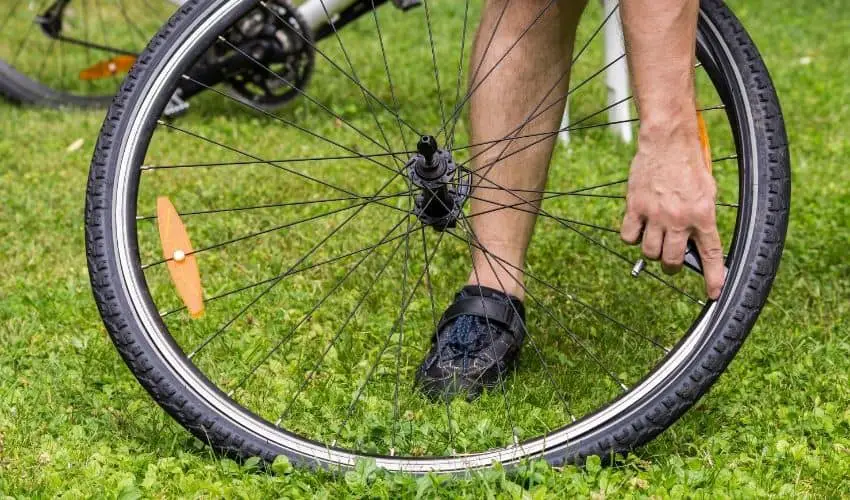
Step-5: Unscrew the Torque Arm Bolt
You will need a 3 mm Allen wrench to unscrew the torque arm bolt. Depending on your electric bike, there will be one or two bolts and washers in place. These bolts hold the brake assembly in place, so getting this out will ensure that you can remove the wheel safely and easily.
Once you remove the bolts, the brake assembly will be loose. Therefore, remove it from its fixed position and let it hang on the side of your wheel’s frame.
You may need to use a Philips screwdriver instead of a 3 mm Allen wrench. Just make sure to use the tool that doesn’t slip when removing the bolt, as that can ruin the bolt’s head.
Before you remove everything after removing the bolts, use your phone (or any camera) to take a picture of the position of the axle with regard to the frame inset. You will also need to do the same for the alignment of the washer and the torque arm.
This way, you will remember the exact position it was in when you reinstall the tire again. If you place in the wrong position, you could damage yourself or potentially injure yourself because of a faulty set-up.
It’s best not to rely on memory alone for this part of changing the tire on an electric bike. Also, the position is typically different for every bike, so if you can’t remember how the torque arm and the washer were aligned, you will need to look for an image of your exact model on the internet (which can be difficult to find).
That said, for most electric bikes’ axles, the tab on the locking washer will be up against the frame inset’s end. However, the position of the torque arms and the washers tend to vary more.
Step-6: Remove the Rear Tire on Your Electric Bike
Pull back the bike’s chain while gently lifting the wheel out of the hub to unhook it from the chainring. It may be a little difficult to remove the wheel, so rock it back and forth a bit while you lift the wheel. This should help free it. However, be careful not to apply too much force when pulling so that you don’t damage the chain.
Step-7: Remove the Inner Tube
Once your wheel is out, you will need to switch the inner tube with another one. To do that, you will first need to deflate the existing tube completely. To remove the remaining from the tire, use an Allen wrench to press down on the valve. Hold it in position until all air escapes from the tire.
It’s very important that you remove all of the air and not just some of it from the inner tube before taking it out of the tire. Operating with a tube with air pressure may result in injury, so it’s best that you follow all safety protocols by the book.
You will then need to remove the tire from the wheel. Use your tire lever to lift the tire off the rim, loosening the beads. You can put the lever in at any point except the part where the valve is. It’s best to use two tire levers.
Lodge one between the tire and the rim, and slide the second lever along the rim while gripping the tire with your free hand. Make sure that you are gentle with the tire, as you don’t want to damage the tire by the lever.
Continue this process until the entire tire is off the rim (you don’t have to remove the completely off the wheel; the tire should just not be attached to the rim). It’s best to let the tire come out on the side that doesn’t have the chain so that you have fewer things in the way.
For the next step on how to change the tire on an electric bike, you will need to push the valve stem attached to the inner tube out of the rim. Now, you can pull the tube out of the tire. You can either patch this inner tube or replace it with another one. The choice is yours.
If you are changing your rear tire for a reason other than a flat, you can skip this step.
Step-8: Inspect the Inner Tube
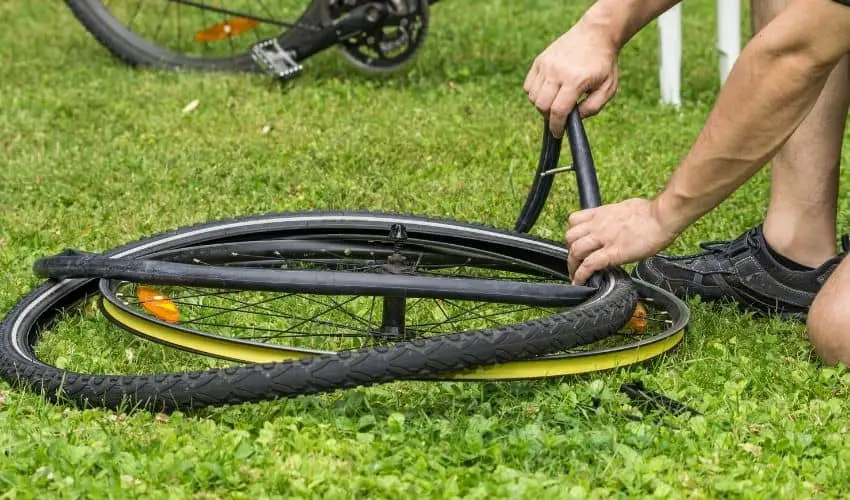
By identifying what caused the flat, you can repair your inner tube and reuse it as a spare instead of getting rid of it. Inflate the inner tube and look for where the air leaked from. If you have a bath of water with you, you can submerge the tube in the water and look at where the bubbles are coming from.
Your inner tube is punctured if you find one hole. Just make sure that the object that punctured the tube is still not stuck in it. Your tube has a pinch flat if there are two holes from where the air is escaping.
Pinch flats tend to happen when you ride over hard objects like rocks or curbs. Before patching up the tube, make sure to look for other signs of damage as well.
Step-9: Reinstall the Inner Tube in the Tire
Inflate the inner tube a little so that it takes shape. It should have only enough air to make it easy to handle instead of it flopping around. It should also be easy to bend so that you place it into the tire with ease.
Place one end of the tire bead on the rim. Next, push the inner tube into the tire from the open end, working it gently so that it doesn’t get damaged. After that, let the valve on the inner tube go through the rim.
After the tube is properly inserted into the tire, seat the rest of the tire onto the rim. You should inspect the tire thoroughly before installing it back. Use a lever to ensure that the tube is not pinched between the rim and the tire.
Only after the tire is seated properly onto the rim, partially inflate it to inspect it one last time.
Step-10: Reinstall the Wheel
Use the photo you took for reference to reinstall the torque arm and the washers. Route the chain on the smallest cog while pulling back on the derailleur. Line the brake rotor in between the brake pads. After that, you can install the wheel in the dropouts.
Reinstall the torque arm to 40nm and the axel nuts in the position they were in before.
You may like the following ebike articles:
- Electric Bike VS Electric Scooter – Which Is Better?
- Best Storage Tips for Electric Bikes: Where to Store Your Electric Bike?
- Top 6 Reasons Why Electric Bikes are so Expensive
- All You Need to Know About Electric Bike Batteries
- All You Need to Know About Electric Bike Tires
- Electric Bike VS Regular Bike – Which Is Better?
- Charge electric bikes in remote areas
- Everything You Need to Know About Fat Tire Electric Bike Kits
- Major Electric Bike Problems
- All You Need to Know About Shipping Electric Bikes
- How to get Bike Grease out of Clothes
Finishing Up
To finish up the process of changing the tire on an electric bike, you simply have to connect the motor cables together. Use new zip ties to keep the wires secure to the frame, and then trim off the extra bits. You will now need to inflate the tire to the correct air pressure. Make sure to use an air pressure up with a gauge and a steady supply of air. You can burst your tire with too little or too much air pressure. The final step is to place the batter back, and off you go.

I am Michael, an avid rider and bike expert. I am here to provide, biking tips and expert advice on in-depth bike reviews covering features, capabilities, price range, and much more. Specially on electric bikes, mountain bikes, road bikes, etc. I will provide honest product reviews, along with expert advice on purchasing, training, and maintenance. Check out my complete profile.